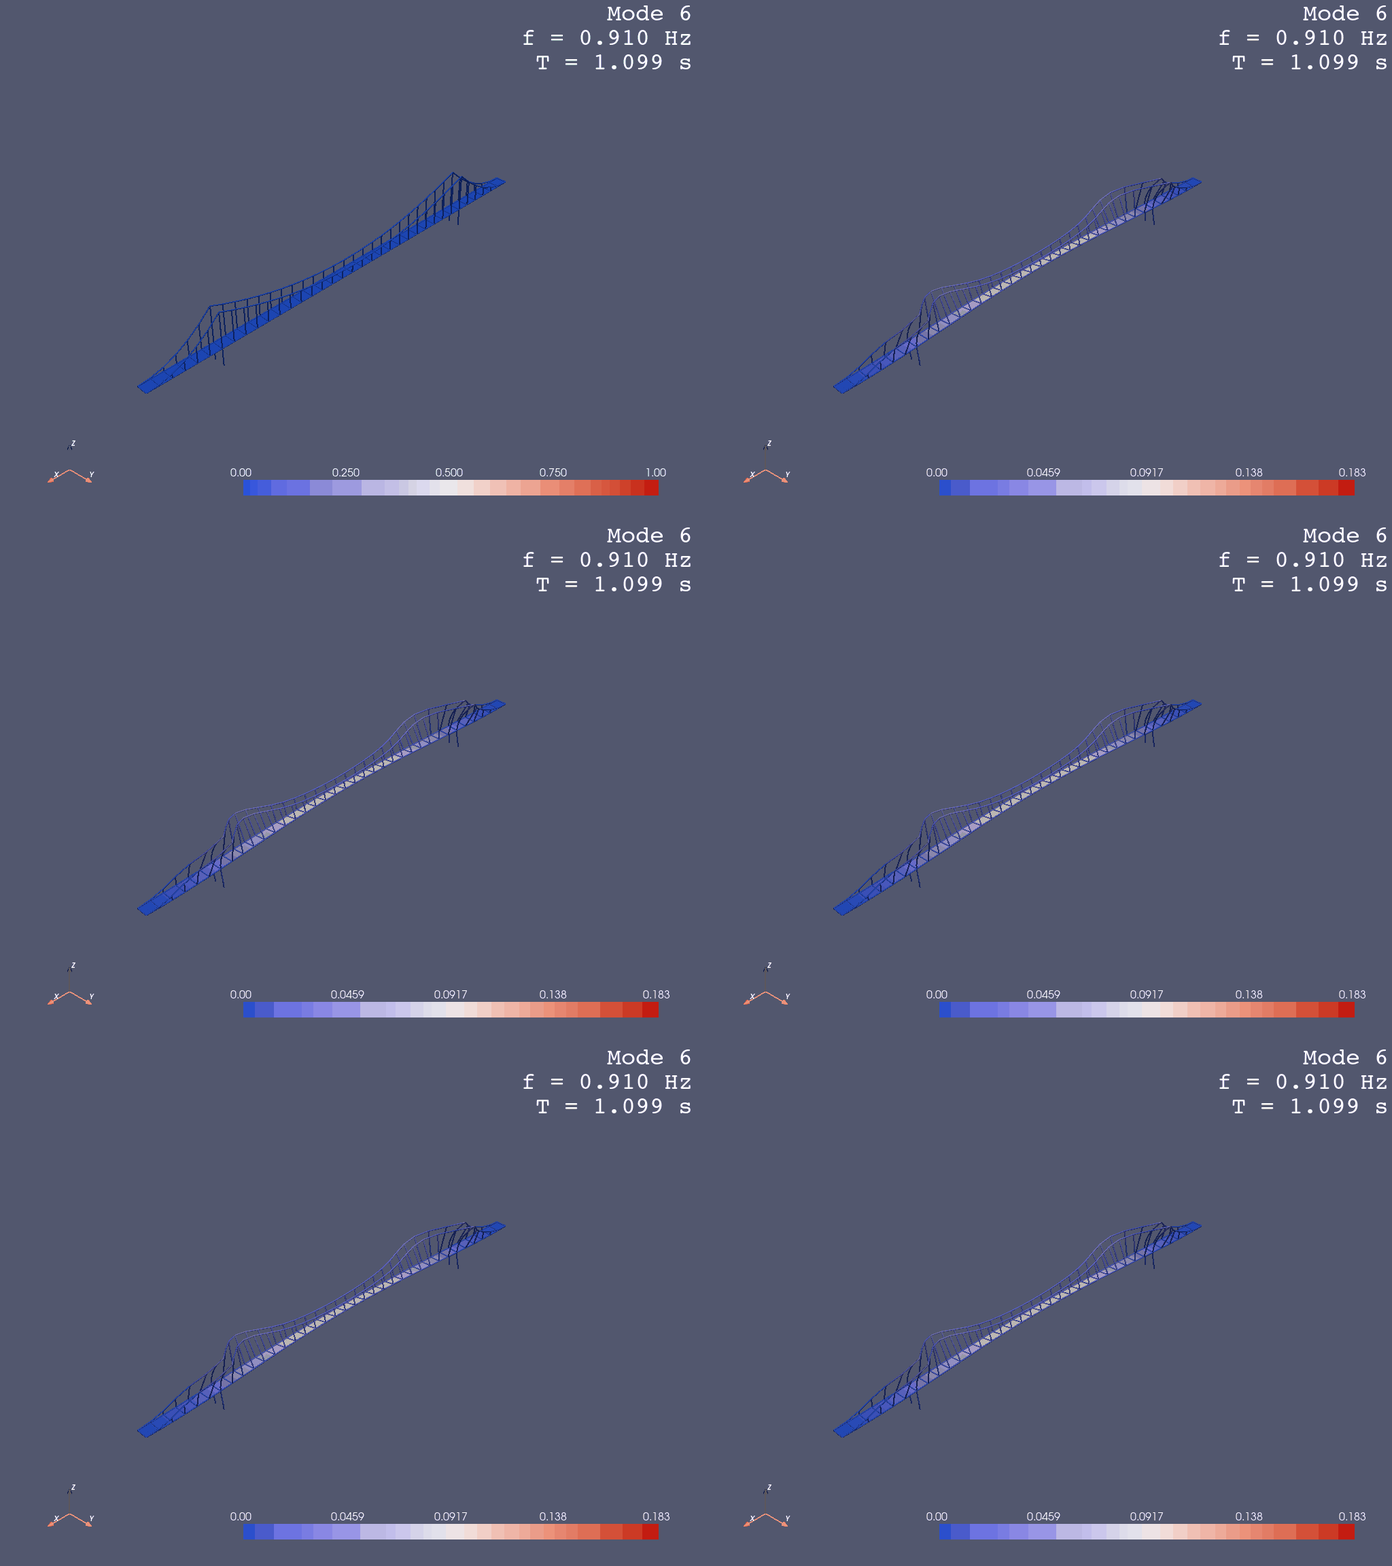
✅Visualization based on pyvista#
First load the necessary classes and functions, where GetFEMdata is used to get the model data from the current domain of OpenSeesPy,
and OpsVisPyvista is used to visualize the model.
Function load_ops_examples() is used to load predefined examples from opstool.
[1]:
import openseespy.opensees as ops
import opstool as opst
Load the 3D Arch Bridge finite element model.
[2]:
opst.load_ops_examples("SuspensionBridge")
# or your openseespy code
# your openseespy code here
Display OpenSeesPy Geometry Model#
Get the model data from the current domain. Of course, you can also run your own model code before instantiating GetFEMdata.
Parameter results_dir is used to specify the directory where the output file is saved.
[3]:
ModelData = opst.GetFEMdata(results_dir="opstool_output")
ModelData.get_model_data(save_file="ModelData.hdf5")
***** Model Information *****
Number of nodes: 200
Number of elements: 343
The boundary size: X --> [-70. 70.]; Y --> [-1.75 1.75]; Z --> [-6.25 11.25]
Element types: {'ShellMITC4', 'ElasticBeam3d'}
***** END *****
Model data saved in opstool_output/ModelData.hdf5!
Instantiating visualization class OpsVisPyvista.
[4]:
opsvis = opst.OpsVisPyvista(point_size=0, line_width=2,
                            colors_dict=None, theme="paraview",
                            color_map="coolwarm", on_notebook=False,
                            results_dir="opstool_output")
Display the geometric information of the model, Input parameter explanation see class method model_vis().
[5]:
opsvis.model_vis(input_file="ModelData.hdf5",
                 show_node_label=False, show_ele_label=False,
                 show_local_crd=True,
                 local_crd_alpha=1.5,
                 show_fix_node=True,
                 fix_node_alpha=2.0,
                 show_constrain_dof=False,
                 label_size=15,
                 show_outline=True,
                 opacity=1.0,
                 save_fig='images/ModelVis.svg')
Display Eigen Analysis#
Note
Before performing the eigenvalue analysis, you need to ensure that the OpenSeesPy model is correct and that the mass is set.
Obtain the first 20 orders of modal data.
[6]:
ModelData.get_eigen_data(mode_tag=20, solver="-genBandArpack",
                         save_file='EigenData.hdf5')
Using DomainModalProperties - Developed by: Massimo Petracca, Guido Camata, ASDEA Software Technology
Eigen data saved in opstool_output/EigenData.hdf5!
Visualize eigenvalue modes. When you set a two-element list for the argument mode_tags and subplots is False, the method eigen_vis() returns a slider-style plot.
[7]:
opsvis.eigen_vis(input_file='EigenData.hdf5',
                 mode_tags=[1, 20], subplots=False,
                 alpha=1.0, show_outline=False,
                 show_origin=False, opacity=1.0,
                 show_face_line=False, save_fig='images/EigenVis.svg')
Of course, subplots set to True will return a multi-sub plot.
[8]:
opsvis.eigen_vis(input_file='EigenData.hdf5',
                 mode_tags=[1, 16], subplots=True,
                 alpha=1.0, show_outline=False,
                 show_origin=False, opacity=1.0,
                 show_face_line=False, save_fig='images/EigenVis2.svg')
You can also create an gif or mp4 animation by eigen_anim().
[9]:
opsvis.eigen_anim(input_file='EigenData.hdf5',
                  mode_tag=6, alpha=1.0,
                  show_outline=False,
                  opacity=1, framerate=3,
                  n_cycle=5,  # change steps here
                  show_face_line=True,
                  save_fig="images/EigenAnimation.gif")

Display Response Data#
First we use the function gen_grav_load() to generate the gravity load.
Ignore this command if you have already defined gravity or loads you want.
[10]:
opst.gen_grav_load(ts_tag=1, pattern_tag=1,
                   factor=-9.81, direction="Z")
Next, we save the response data in each analysis step. I chose to do this to strip the visualization from the analysis, and you are free to tweak the analysis parameters, which is very helpful for debugging the convergence of the model!
Note
Since version 0.7.0, opstool has added methods opstool.vis.GetFEMdata.get_resp_step()
and opstool.vis.GetFEMdata.save_resp_all()
to get and save all supported responses at once,
you don’t have to use commands like get_node_resp_step(),``get_frame_resp_step()``, …, anymore.
[11]:
Nsteps = 10
ops.wipeAnalysis()
ops.system('BandGeneral')
ops.constraints('Transformation')
ops.numberer('RCM')
ops.test('NormDispIncr', 1.0e-12, 10, 3)
ops.algorithm('Newton')
ops.integrator('LoadControl', 1 / Nsteps)
ops.analysis('Static')

# start analysis loop
for i in range(Nsteps):
    ok = ops.analyze(1)
    ModelData.get_resp_step()
# save all responses data after loop
ModelData.save_resp_all(save_file="RespStepData-1.hdf5")
All responses data saved in opstool_output/RespStepData-1.hdf5!
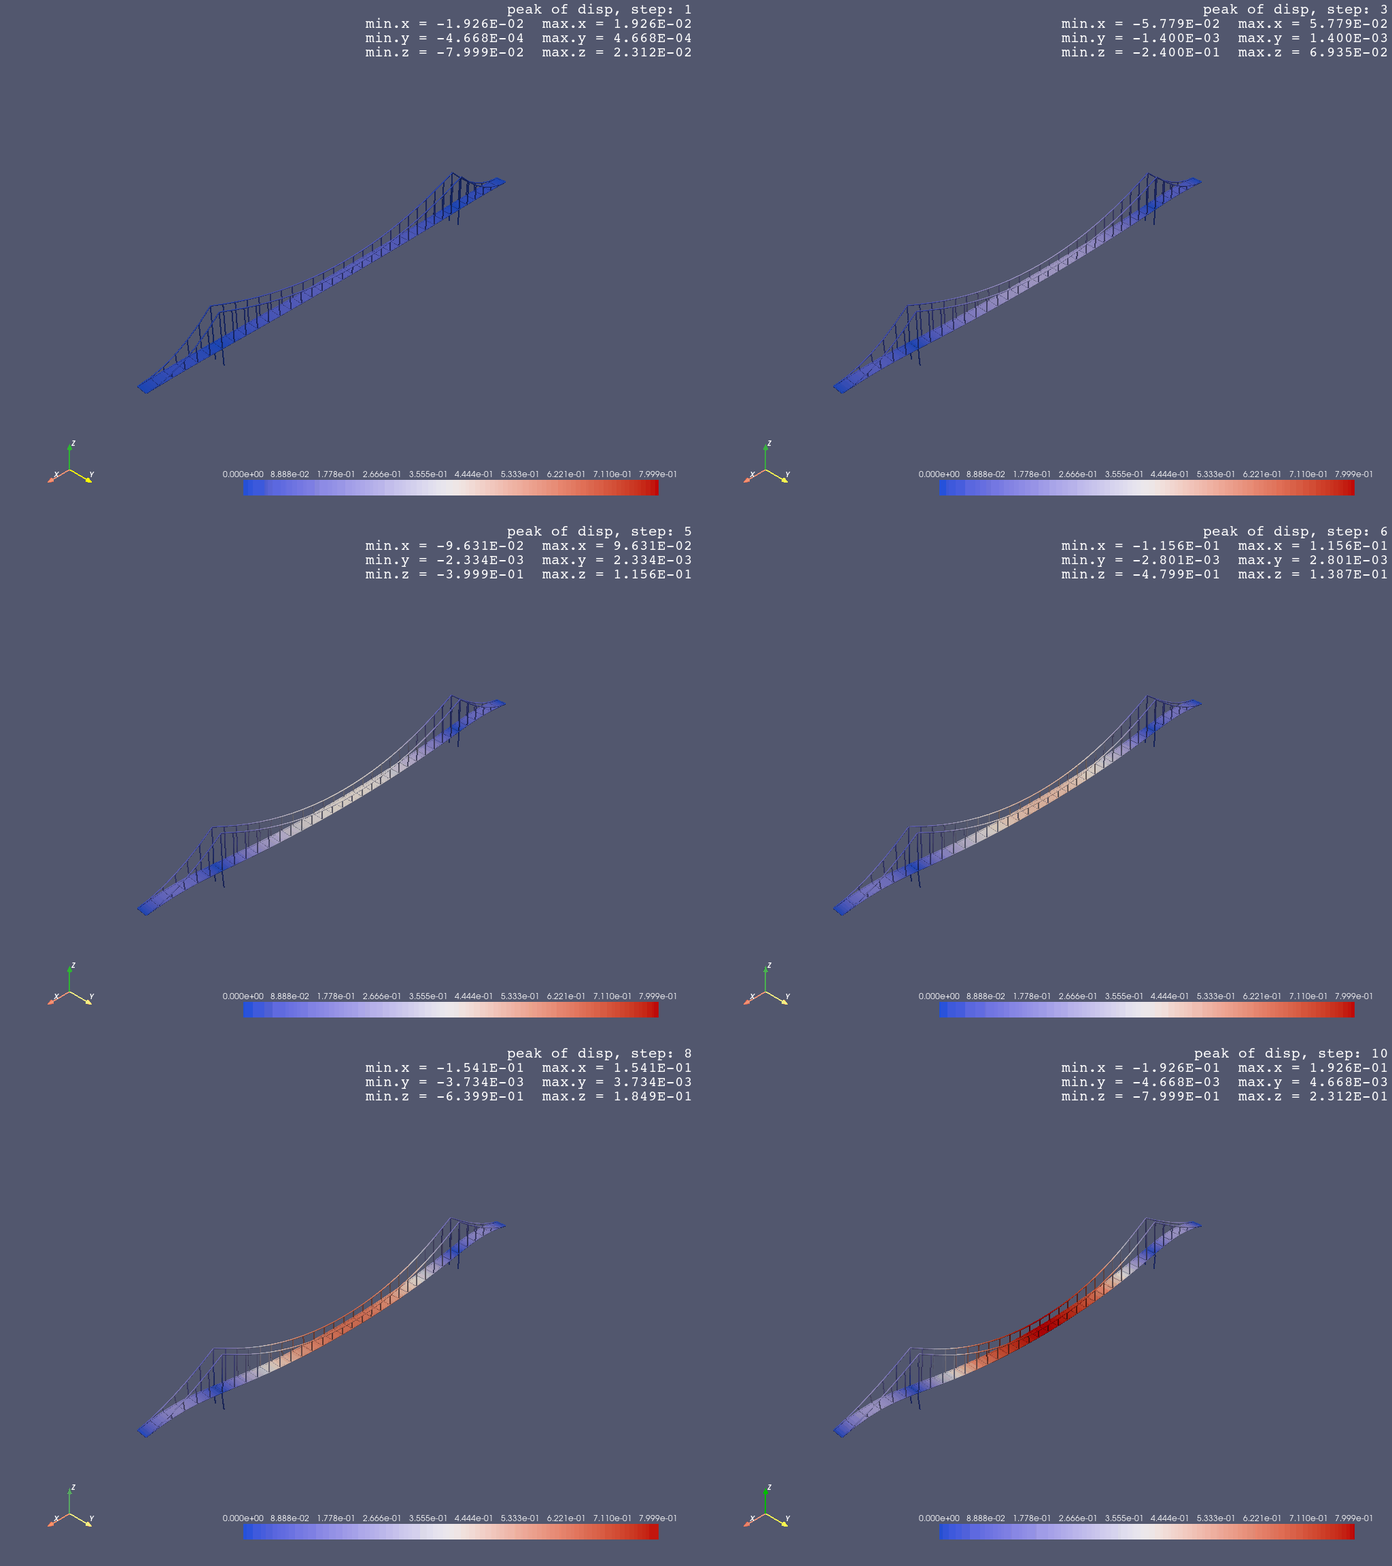
Visualize node displacement by method deform_vis().
Of course, velocity and acceleration are also optional, just change response to “vel” or “accel”.
[12]:
opsvis.deform_vis(input_file="RespStepData-1.hdf5",
                  slider=True,
                  response="disp", alpha=1.0,
                  show_outline=False, show_origin=True,
                  show_face_line=False, opacity=1,
                  save_fig="images/DefoVis.svg",
                  model_update=False)
Create an html animation by deform_anim().
[13]:
opsvis.deform_anim(input_file="RespStepData-1.hdf5",
                    response="disp", alpha=1.0,
                    show_outline=False,
                    framerate=2,
                    show_face_line=False, opacity=1,
                    save_fig="images/DefoAnimation.gif",
                    model_update=False)

Display Frame Element Response#
When saving the node response data, we also save the response of the frame elemengts by method get_frame_resp_step(), which you can visualize in the following way.
[14]:
opsvis.frame_resp_vis(input_file="RespStepData-1.hdf5",
                      ele_tags=None,
                      slider=True,
                      response="My",
                      show_values=False,
                      alpha=1.0,
                      opacity=1,
                      save_fig="images/FrameRespVis.svg")
